Photos On Canvas
ZaZa Gallery's Museum Grade, Archival Canvas
Did you know: Not all canvas is equal.
ZaZa Gallery has always focused on providing canvas prints of only the highest quality. No detail goes overlooked which is why we're proud that we produce our prints on museum grade OBA free canvas with archival ink and coated with a UV protecting finish. We want you to be our client and not our customer, which is why all prints are Museum Grade Quality, designed to last well over 100+ Years.
Because we refuse to use canvas with Optical Brightening Agents (OBA), all of our canvas is acid free. It's common for cheaper canvas to include OBA additives to artificially enhance colors & white tones which later discolor and yellow as the canvas is exposed to UV light (a sign which indicates the canvas has started the process of degradation).
If you'd like to find out if a canvas you have contains OBA additives: simply pass a black light over the canvas, If the whites in the canvas lights up and glows fluorescent (similar to a white t-shirts under a black light), the canvas contains OBA additives. If the canvas doesn't clearly glow, it doesn't contain these OBA additives which reduce the canvas' life.
We're proud to bring you the highest quality product built to last a lifetime.
Canvas Print Info
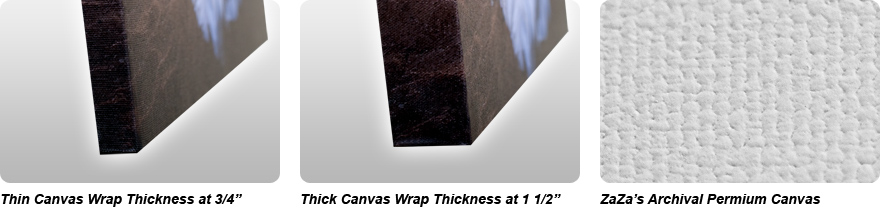
The production of your picture on canvas starts with the finest materials the industry has to offer. The stretcher bar we use is 3/4 of an inch thick (1 1/2 inch optional). The canvas we use has a mild texture similar to that used by the dutch masters for portraiture. Our canvas and our inks are rated as archival. From the canvas to the ink all the way down to the sealer, we use only museum-quality products.
The end result is a beautiful canvas print with a life expectancy of 100 years under reasonable conditions.
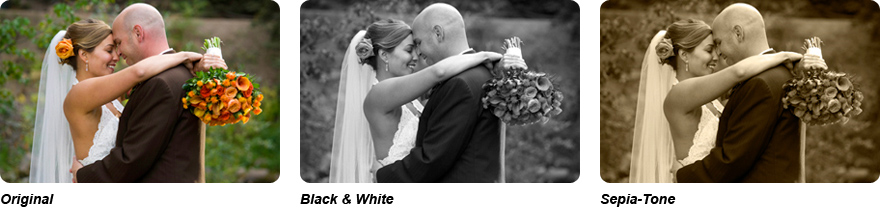
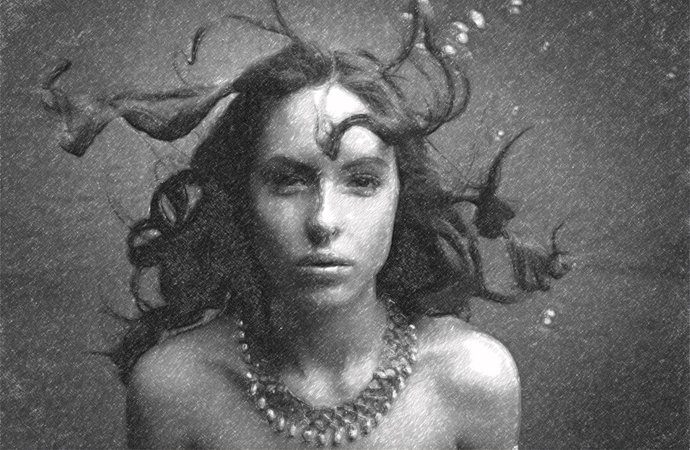
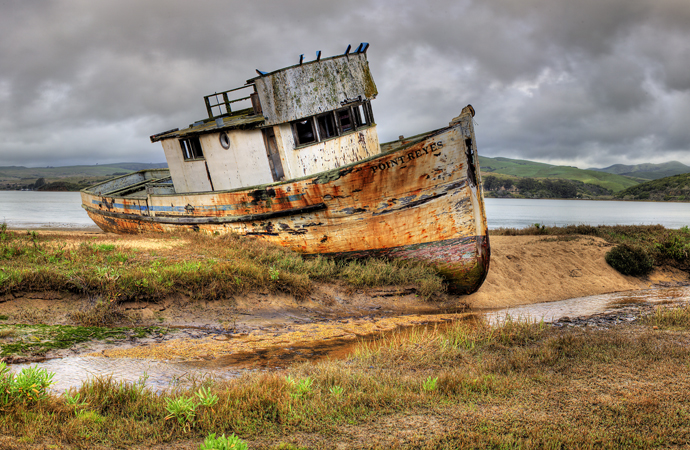
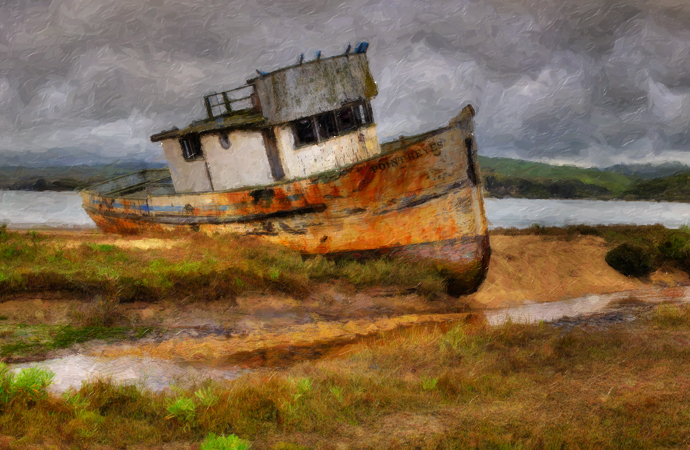
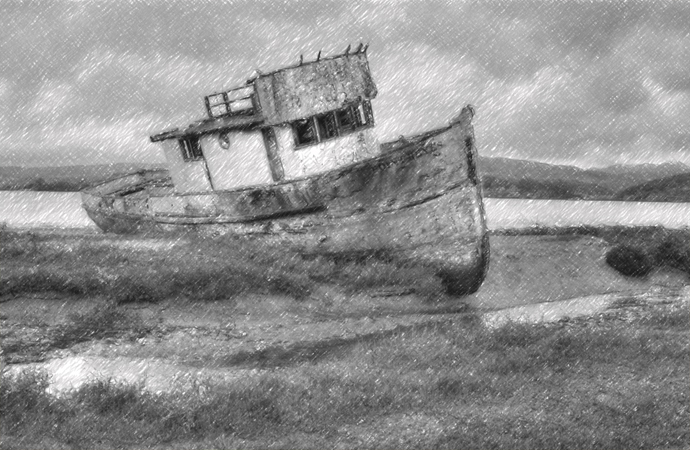
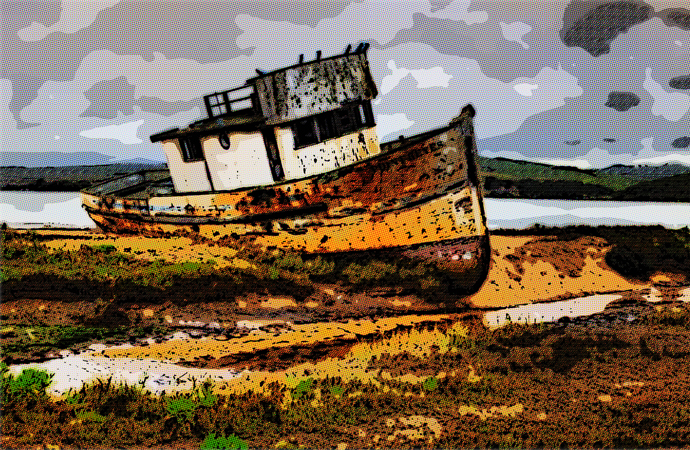
Stylization Options


Border Options
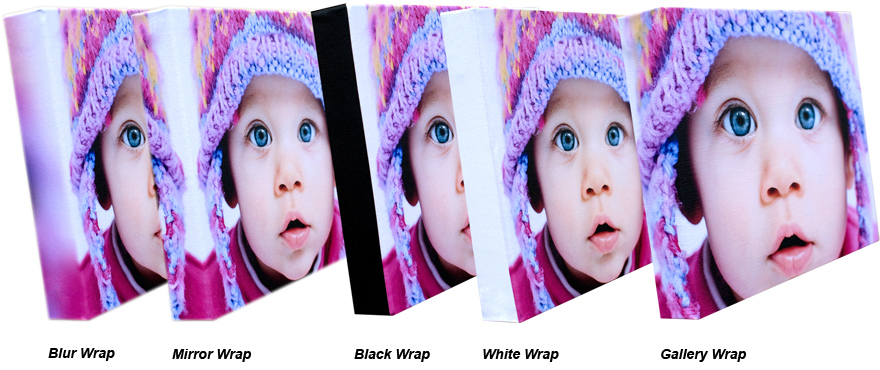
Color Stylization